Capturing stunning photos with your smartphone can often feel frustrating. You might find yourself battling poor lighting, shaky hands, or the limitations of the camera app, leaving you with lackluster images that don’t do justice to the moment.
Many users struggle to unlock the full potential of their devices, missing out on advanced settings and features that could elevate their photography game!
You may have noticed that despite the best efforts, the pictures often turn out blurry or poorly composed. This arises from not taking the time to understand the phone’s camera settings, such as focus and exposure. Additionally, relying too heavily on digital zoom can lead to grainy results that diminish the quality of your photos.
But fear not! With the right techniques and insights, you can turn your smartphone into a powerful tool for capturing breathtaking images. In this article, we’ll explore easy tips to help you harness your smartphone’s capabilities and transform ordinary shots into spectacular photos. Get ready to elevate your mobile photography and create images that impress!
How can I take better photos on Android and iPhone?
1. Clean the lens
How-to:
- Use a microfiber cloth or your shirt to gently wipe the camera lens before taking photos. Make this a habit, especially when your phone has been in your pocket or bag.
- Consider keeping a small lens cleaning cloth attached to your phone case for quick access.
How it helps:
A clean lens eliminates smudges and dust, ensuring your photos are clear and sharp. Regular cleaning can prevent blurry images, which often happen when a lens is dirty.
2. Use natural light
How-to:
- Position your subject near windows or outside during the golden hour (just after sunrise or before sunset) for soft, flattering light.
- When shooting indoors, turn off the flash and use lamps or candles for warm light if natural light is insufficient.
How it helps:
Natural light enhances colors and textures, providing a more appealing look compared to the harsh glare from a flash. Proper lighting makes a significant difference in the overall quality of your images.
3. Avoid zooming in
How-to:
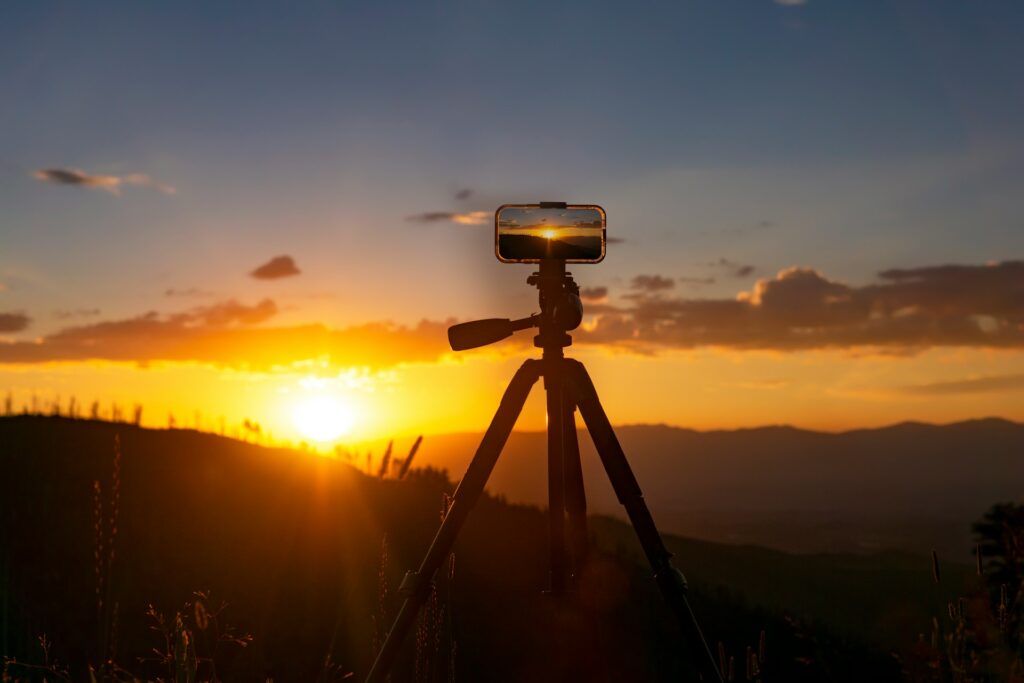
- Physically move closer to your subject instead of using the digital zoom feature. If that’s not possible, consider cropping the image afterward using editing tools.
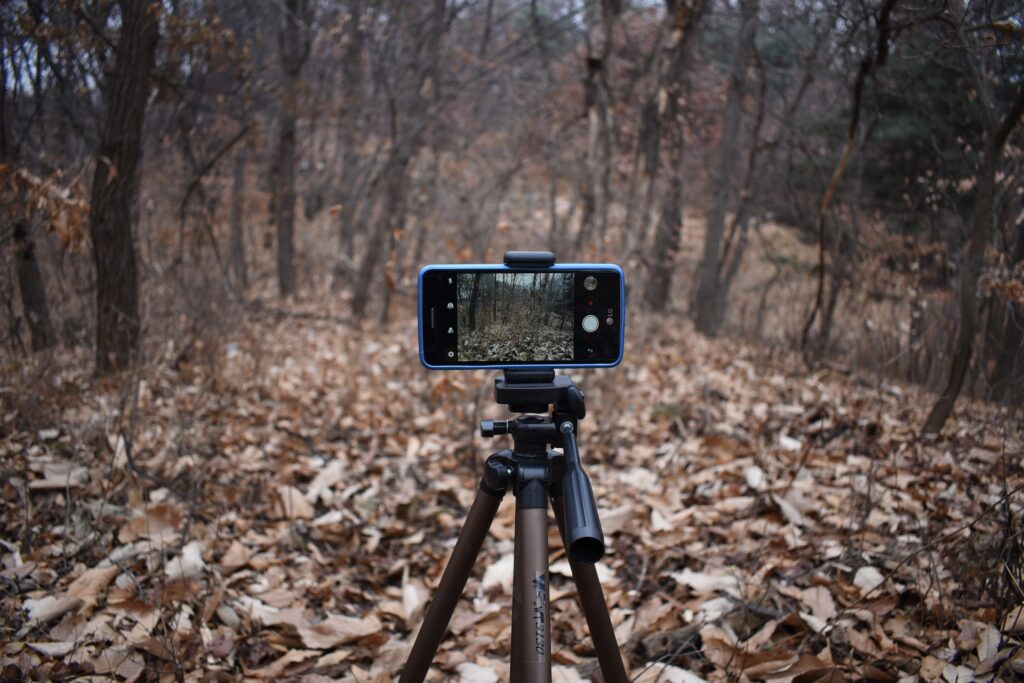
- Use a tripod or stabilize your phone to get a steady shot if you need to photograph from a distance.
How it helps:
Digital zoom reduces image quality by enlarging the pixels rather than capturing more detail. By getting closer, you maintain the clarity and richness of your photos.
4. Utilize burst mode
How-to:
- Activate burst mode by holding down the shutter button in your camera app; both iPhones and many Androids support this feature.
- After taking a burst, scroll through the images to select the best ones and delete the rest to free up space.
How it helps:
Burst mode captures multiple frames in quick succession, making it easier to catch action shots or perfect expressions, especially in dynamic settings.
5. Experiment with composition
How-to:
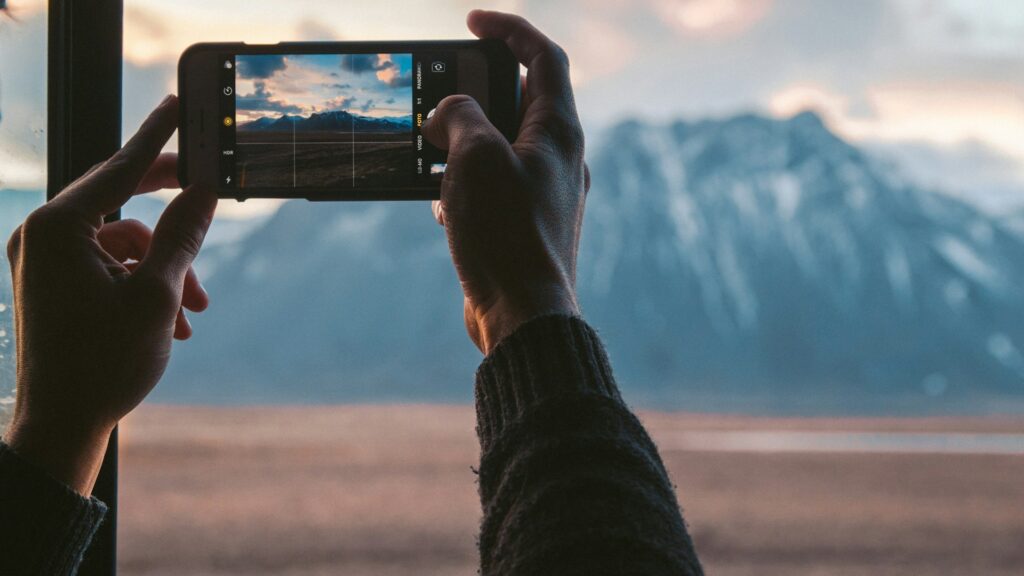
- Use the grid feature in your camera settings to apply the rule of thirds, which divides your frame into nine sections.
- Practice finding unique angles and lines in your environment, such as architectural features or natural elements.
How it helps:
Good composition creates balance and guides the viewer’s eye, making your photos more engaging. This technique encourages you to think critically about framing and subject placement.
6. Use editing apps
How-to:
- Download user-friendly editing apps like VSCO or Snapseed, which offer a variety of tools for enhancing your photos.
- Start with basic adjustments like brightness and contrast, then explore filters and special effects once you’re comfortable.
How it helps:
Editing allows you to enhance and transform your images, correcting issues such as exposure or color balance and adding creative flair. This step is crucial in achieving professional-looking results.
7. Find interesting perspectives
How-to:
- Don’t just shoot from eye level; crouch down, climb up, or angle your phone to capture different viewpoints.
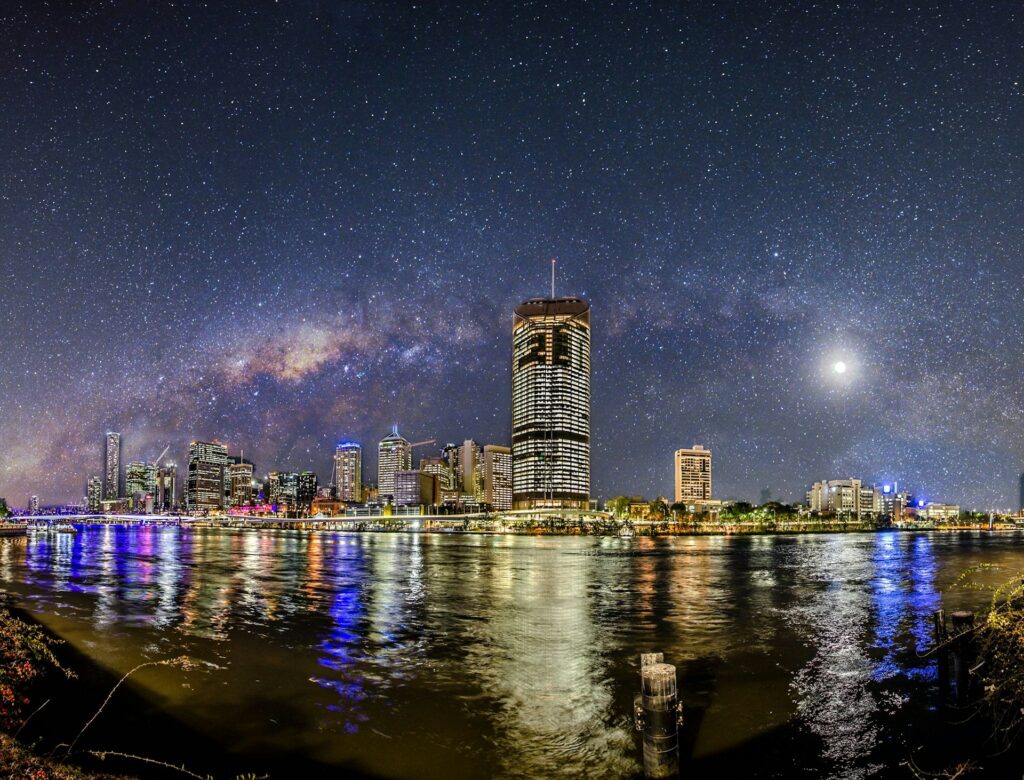
- Look for reflections in water or glass to create visually striking images that add depth.
How it helps:
Unique perspectives make your photos stand out and tell a more compelling story. Experimenting with angles can reveal details you might otherwise miss, enhancing the overall visual interest.
8. Use manual settings (if available)
How-to:
- Download apps like Manual Camera for Android or Halide for iPhone that give you access to manual controls over focus, exposure, and ISO.
- Spend some time learning how each setting affects your photos, especially in varying lighting conditions.
How it helps:
Manual settings empower you to adapt your photography style and improve image quality, allowing for creative freedom and precision in capturing your desired look.
9. Capture reflections
How-to:
- Look for reflective surfaces in your environment, such as puddles, glass windows, or shiny metal.
- Frame your shot so that the reflection adds context or symmetry, enhancing the composition.
How it helps:
Reflections can create captivating images that draw the viewer’s eye, adding layers of interest and creativity to your photography.
10. Practice regularly
How-to:
- Set a schedule to take photos daily or weekly, focusing on specific themes or techniques each time.
- Join online photography groups or challenges to receive feedback and inspiration from other photographers.
How it helps:
Regular practice builds your skills and confidence, allowing you to develop a unique photographic style. Engaging with a community can provide valuable insights and motivation.
By incorporating these tips into your photography routine, you’ll be well on your way to taking stunning photos with your smartphone. Each suggestion encourages you to explore, experiment, and enjoy the creative process!
5 tips to capture photos like a professional
1. Use manual camera settings
How-to for Android:
- Open the Camera app.
- Look for options like “Pro Mode” or “Manual” settings within the camera interface.
- Adjust the ISO, shutter speed, and white balance to match your lighting conditions and the desired effect.
- Focus manually by tapping on the screen where you want the focus to be.
How-to for iPhone:
- Open the native Camera app.
- Swipe to “Portrait” or “Night” mode to access advanced settings that allow for better control over exposure.
- Tap to focus on your subject, and use the Sun icon to adjust exposure by sliding up or down.
- While iPhones don’t have full manual controls, you can use exposure compensation effectively.
Utilizing manual settings allows you to take control of the exposure and focus, resulting in images that more closely align with your creative vision.
2. Capture in RAW format
How-to for Android:
- Open your camera app and go to settings.
- Look for an option to enable RAW image capture (this may vary by manufacturer).
- Once enabled, take your photos as usual; they will be saved in RAW format.
How-to for iPhone:
- Open the Camera app and swipe to “Photo” mode.
- Go to Settings > Camera > Formats and enable “Apple ProRAW” (available on compatible iPhones).
- When taking a photo, ensure the RAW option is selected to capture in this format.
Shooting in RAW captures more detail and provides greater flexibility for editing, enhancing your photos significantly.
3. Adjust depth of field
How-to for Android:
- Open your Camera app and select “Portrait” mode if available.
- Tap to focus on your subject, ensuring they are sharp while the background blurs.
- If your camera allows, adjust the aperture settings to control the depth of field effect.
How-to for iPhone:
- Open the Camera app and select “Portrait” mode.
- Focus on your subject, and the background will automatically blur.
- Use the “f” icon to adjust the depth control to increase or decrease the blur in the background.
Controlling the depth of field emphasizes your subject, making the photo more visually appealing and professional.
4. Utilize night mode
How-to for Android:
- Open your Camera app.
- Look for the “Night Mode” option, often located in the mode selector.
- Set your phone on a stable surface or use a tripod to minimize shake.
- Tap the shutter button and hold still while the camera captures multiple frames.
How-to for iPhone:
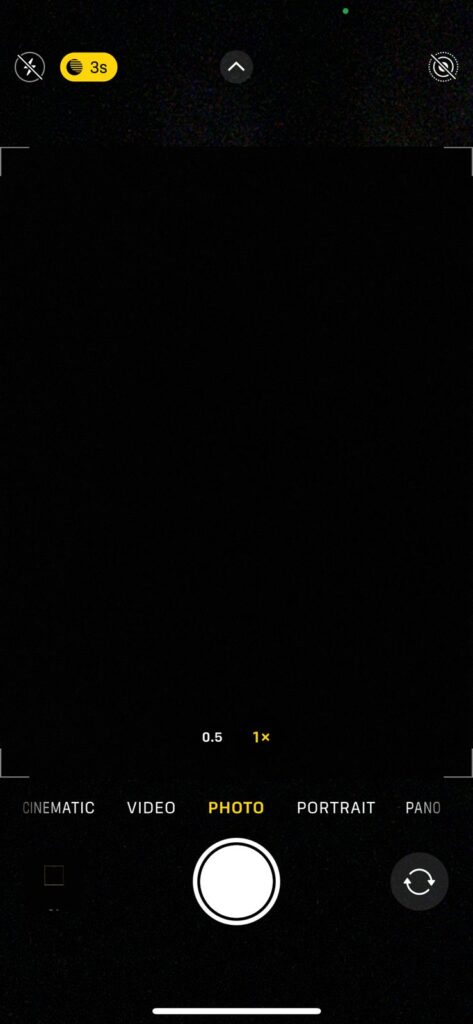
- Open the Camera app and switch to “Night Mode“(this mode activates automatically in low light).
- Steady your phone or use a tripod to prevent blurriness.
- Tap the shutter button, and hold still as it captures the shot.
Using Night Mode allows you to capture stunning images in low-light conditions by automatically adjusting exposure settings, resulting in brighter and clearer images.
5. Utilize HDR mode
How-to for Android:
- Open the camera app and go to settings.
- Enable HDR (High Dynamic Range) mode, which may be labeled as “HDR” or “Enhanced.”
- Capture images, especially in high-contrast scenes, to improve detail in both shadows and highlights.
How-to for iPhone:
- Open the Camera app.
- Tap the HDR button at the top of the screen to turn it on.
- Take photos in challenging lighting conditions to better balance exposure.
Using HDR helps capture more detail in scenes with varying light levels, making your images appear more vibrant and detailed.
Incorporating these advanced photography tips will empower you to take good, stunning photos with your smartphone. By mastering techniques such as manual settings and HDR, you’ll unlock your device’s full potential and elevate your photography skills.
With practice, you’ll gain confidence in your ability to create beautiful compositions, whether you’re shooting in low light or adjusting depth of field.
Embrace these strategies, and you’ll not only take better photos but also enjoy the artistic process of photography itself, making every click a rewarding experience!
While you are here, also learn how to detect and remove malware from your smartphone. Also for the unversed, your screen protector may be affecting the camera’s quality. Even the smartphone’s back cover has sometimes been found to do that by obstructing the camera’s view, when using one incompatible with your device.
